How to fix FOUC (Flash Of Unstyled Content) Elementor
Introduction
Have you ever encountered the Flash of Unstyled Content (FOUC) on a WordPress site? I recently wrestled with this issue on a client’s website, and trust me, it was a headache. It wasn’t a direct result of something I did, and finding a solution seemed almost impossible at first glance. This blog aims to shed light on what causes FOUC and provide a detailed, step-by-step solution to tackle it head-on.
What causes the flash of unstyled content?
FOUC occurs when a browser fails to render the CSS of a particular section of an HTML document immediately. Initially thought to be an Internet Explorer-exclusive problem, it has since plagued all major browsers, earning the nickname “Safari Epidemic.” Let’s dive into the potential culprits behind FOUC:
- Loading of CSS Files: Slow-loading or large CSS files can cause browsers to display HTML content without styles temporarily.
- Use of External CSS: Styles loaded from external sources may be applied with a delay, resulting in FOUC.
- JavaScript Manipulation of Styles: Delays in dynamically applying styles or loading CSS files with JavaScript can lead to FOUC.
- CSS Import (@import): The use of the @import rule to load CSS files can delay style rendering.
- Render-Blocking JavaScript: Synchronously loaded JavaScript files can hinder page rendering, including CSS application.
- Content Delivery Network (CDN) Issues: Slow or unreliable CDN connections can delay style loading.
- Browser Caching Behavior: FOUC can also stem from the way browsers cache content, especially if CSS files aren’t cached properly.
A Step-by-Step Solution to Eliminate FOUC in Elementor:
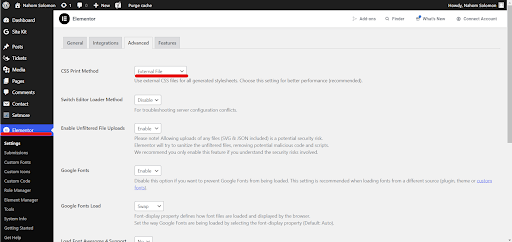
1. Change your Css Print method:
Navigate to your WordPress dashboard and head to Elementor settings to modify the CSS print method.
2. Add a Small PHP Function to Your Website:
Identify the ID of the page or post experiencing FOUC by editing it with Elementor. The ID appears right after “post=” in the URL.

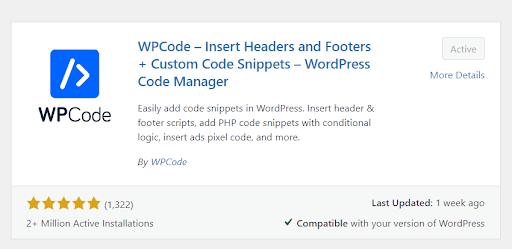
3. Installing the Code Snippet Plugin:
Download and activate a code snippet plugin. I recommend using the plugin linked here for ease.
Go to your plugin directory and add a new plugin if you don’t have one already. The one I use is this one and you can download it here.
4. Adding the Snippet of Code:
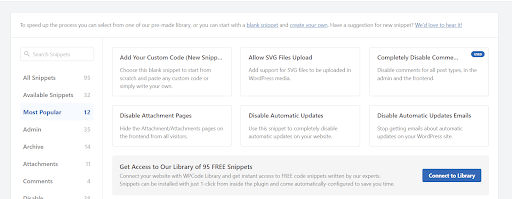
Navigate to the Code Snippet plugin, click on “+ Add snippet,” and choose to use your own code.
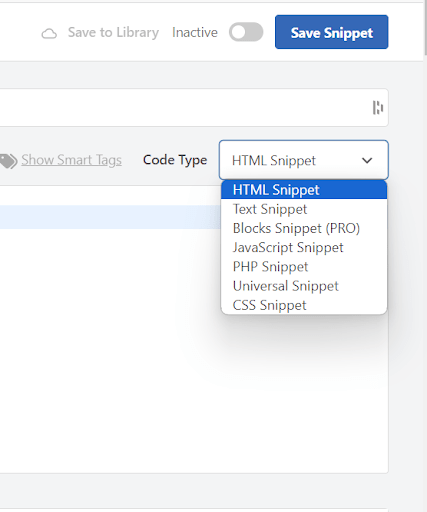
Create a blank code editor and paste in this code.
5. Activating and Clearing Cache:
After inserting the snippet, make sure it’s set to PHP and activated. Clear your website’s cache using plugins like WP-Cache or WP Rocket.
And there you have it! While changing the CSS print method might do the trick, the addition of a PHP function typically nails it, solving the FOUC dilemma. This guide should help you restore harmony to your WordPress site, ensuring a seamless display of styled content.
Does this structure work for you? If yes, I’ll proceed with fleshing out the blog with more details and helpful insights.